Set up your centre. Four steps, once.
A new centre starts with a sample name and a sample header. Until you replace them, the patient portal and the QR registration form stay closed, so patients never see a placeholder. Staff screens work from the first minute.
Open the checklist
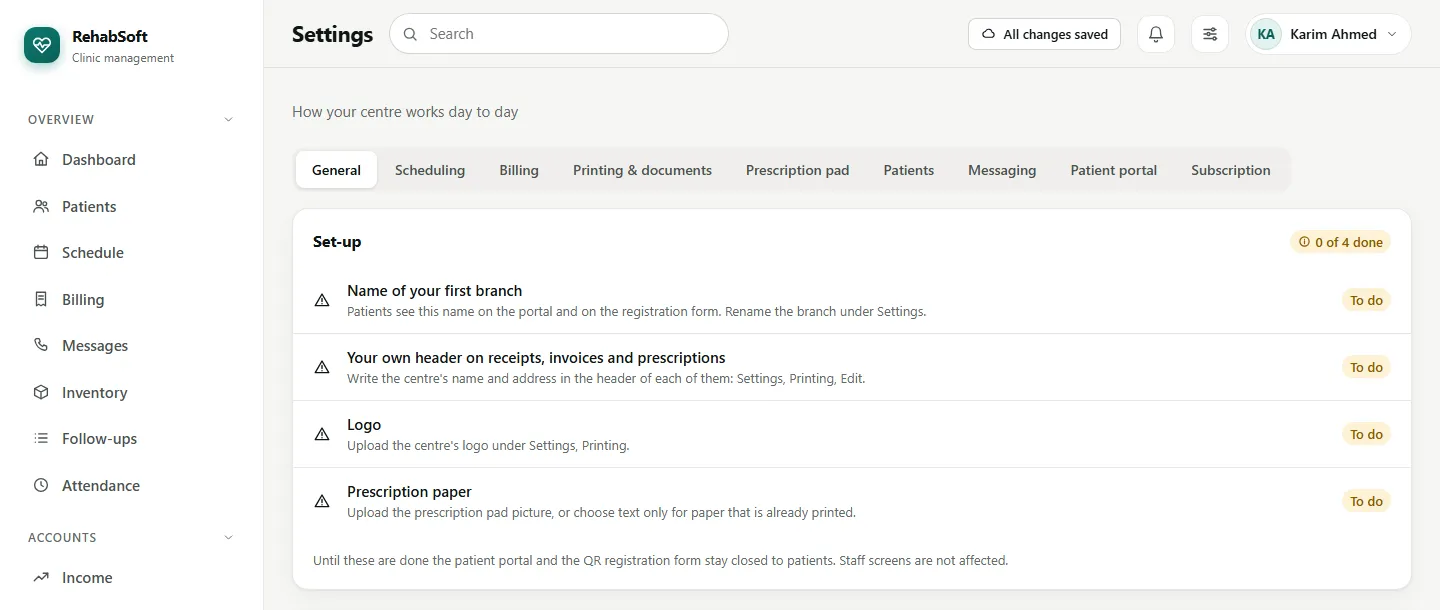
Sign in as the Centre Owner and open Settings. The Set-up card at the top shows each step as To do or done, and how many of the four are finished. The dashboard reminds you until it says 4 of 4.
The steps
Name your first branch. On Settings > General, press Rename next to the branch and type the name patients know you by. This name also appears in text messages.
Write your own header. Settings > Printing & documents: press Edit on the receipt, the invoice and the prescription in turn. Type the centre's name, address and phone, one line per line, then Save.
Upload the logo on the same Printing & documents tab.
Choose the prescription paper. Settings > Prescription pad: upload a picture of your printed pad, or choose text only if you print on paper that already carries your letterhead.
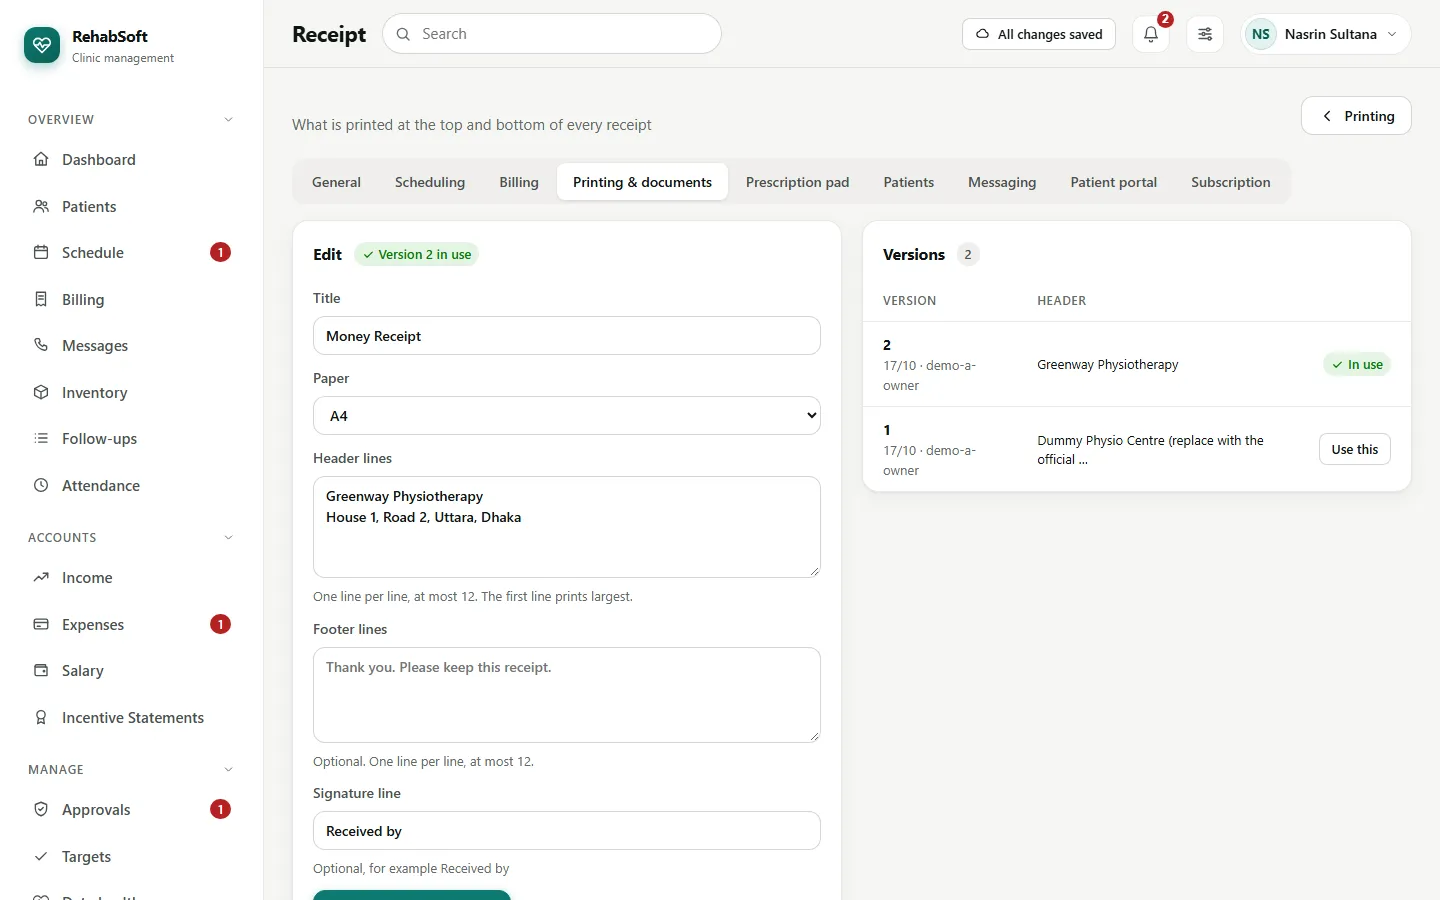
Every save of a printed document is a new version. The list underneath has Use this to bring an earlier one back, and a document already printed keeps the version it was printed with.
Then, the day-to-day settings
- Scheduling: visit length, opening hours, lunch hour, beds and rooms, holidays.
- Billing: Reception's discount limit and the due warning; and in Services, your services, packages and prices.
- Team: + New staff for each person who signs in.
- Messaging: check whether texts are really sent and read the wording of each text.
When the checklist reaches 4 of 4, open Settings > Patient portal to decide what patients may see.